Guide To Door Handle Repair And Installation: The Intermediate Guide F…
페이지 정보

본문
Door Handle Repair and Installation: A Comprehensive Guide
Doors are vital to the security and ease of access of our homes and workplaces. The door handle, frequently the very first point of contact, plays a vital role in ensuring that the door works properly. In time, door handles can break, become loose, or even break entirely. Whether you're handling a malfunctioning handle or aiming to upgrade your door hardware, understanding door handle fixer handle repair and installation (https://door-handle-technicians63011.illawiki.com) is vital.
Why Repair or Replace a Door Handle?
Numerous factors might necessitate the repair or replacement of a door handle:
- Wear and Tear: Over time, daily usage can cause handles to end up being loose or challenging to run.
- Aesthetics: An old or outdated handle can detract from the total appearance of a door.
- Performance: A malfunctioning handle can hinder access and compromise security.
- Security: Broken or sharp edges can posture security risks, especially in homes with children or animals.
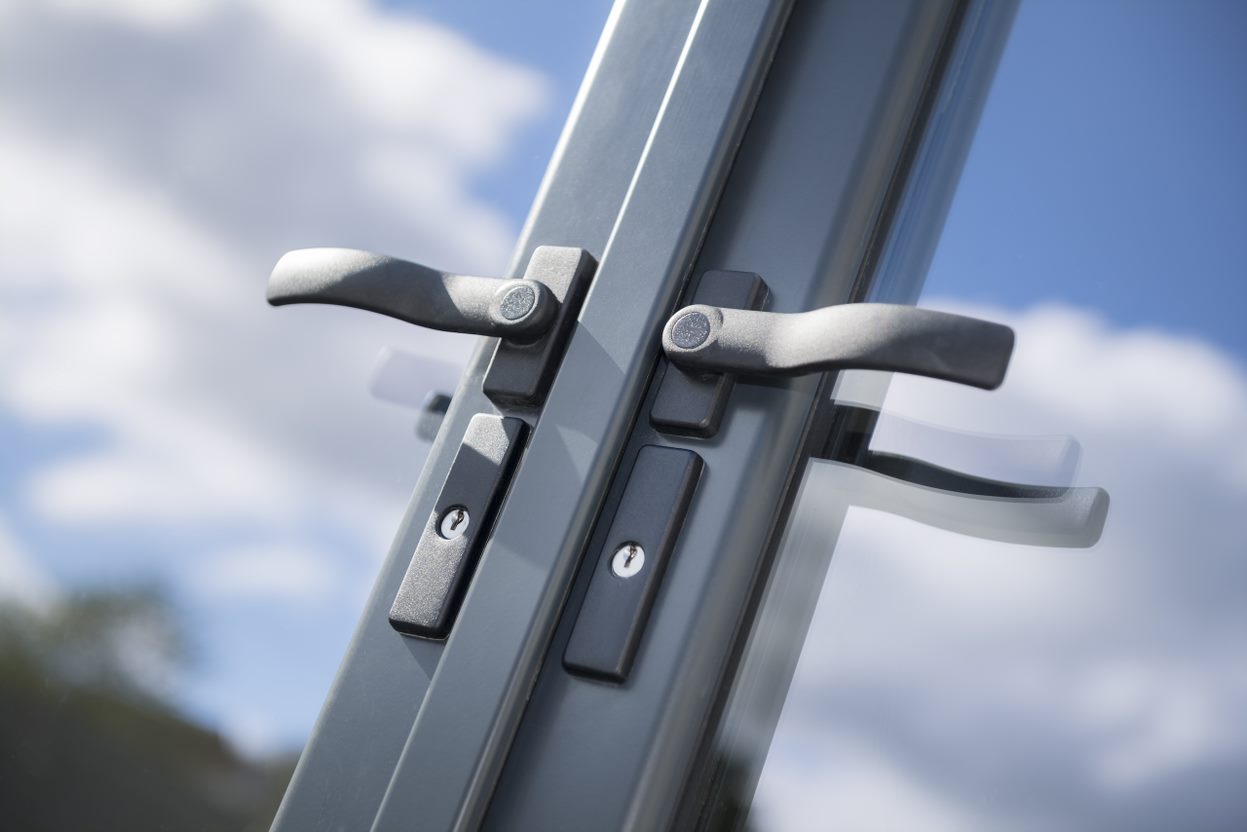
Types of Door Handles
Before diving into repairs and installation, it's important to know the various types of door handles. Here's a table to assist differentiate among them:
| Type | Description | Typical Use |
|---|---|---|
| Lever Handle | A lever-style handle that can be lowered to unlock. | Interior and outside doors |
| Knob Handle | A circular handle that needs twisting to unlock. | Exterior and interior doors |
| Pocket Door Handle | Developed for moving pocket doors, these handles are flush. | Interior moving doors |
| Deadbolt Handle | Combines a handle and a deadbolt for included security. | Exterior doors |
| Smart Handle | Integrates innovation for keyless entry options. | Modern residential and industrial applications |
Tools and Materials Needed for Repair and Installation
When tackling door handle repair or installation, having the right tools and materials is essential. Below is a table listing the common tools and products needed:
| Tools & & Materials | Function |
|---|---|
| Screwdriver (Phillips and Flathead) | For eliminating and installing screws. |
| Allen Wrench | Utilized for sets with hex screws. |
| Tape Measure | To determine for correct handle placement. |
| Replacement Handle Kit | To replace a broken or out-of-date handle. |
| Lubricant | To ensure smooth operation of the handle. |
| Wood Glue | For reinforcing or fixing wooden door handle experts handles. |
Steps for Door Handle Repair
Repairing a door handle can frequently be carried out in simply a couple of simple steps. Here's a clear guide:

Step 1: Assess the Issue
- Determine the issue. Is the handle loose? Is it missing screws? Is it difficult to turn?
- If the handle is shattered, replacement may be essential instead of repair.
Step 2: Gather Tools
- Gather the needed tools from the list supplied earlier.
Step 3: Remove the Handle
- Use a screwdriver to unscrew the handle from the door.
- For knobs, you might need to get rid of the inner system too.
Step 4: Inspect the Mechanism
- Examine for any broken parts. If any components are harmed, think about replacing them or the whole handle.
Step 5: Reassemble or Replace
- If repairing, follow the manufacturer's directions to reassemble.
- If changing, attach the brand-new handle according to the directions supplied in the set.
Step 6: Test the Handle
- Guarantee that the handle runs efficiently before securing whatever in location.
Steps for Door Handle Installation
Installing a new door handle is an uncomplicated process and can generally be done by following these actions:
Step 1: Measure and Mark
- Use a measuring tape to find the center point of the door where the handle will be put.
- Mark the area for drilling.
Action 2: Drill Holes
- If essential, drill holes where the handle will connect. Guarantee to utilize a drill bit appropriate for the kind of door (wood, metal, and so on).
Action 3: Install the Latch
- Insert the latch into the edge of the door. It must line up with the drilled holes.
Step 4: Attach the Handle
- Position the outside handle on the door, aligning it with the latch inside.
- Protect the handle with screws, ensuring not to overtighten.
Step 5: Test Functionality
- After installation, check to make sure that the handle turns smoothly and that the latch engages and disengages correctly.
Often Asked Questions (FAQs)
Q1: How do I know if my door handle is broken?
A: If the handle is loose, won't turn, or if you have trouble unlocking, it might be broken. Check for any noticeable damage or missing out on parts.
Q2: Can I repair a door handle myself?
A: Yes, lots of door handle repairs can be done at home with standard tools. However, if you're not sure, consulting a professional is suggested.
Q3: How long does it require to change a door handle?
A: Replacing a door handle can typically be completed in 30 minutes to an hour, depending upon the complexity of the handle and your experience level.
Q4: What do I do if I lose a screw for my door handle?
A: If a screw is lost, take the remaining screws to a hardware shop to discover an exact match. Alternatively, you can also buy a handle replacement set that consists of new screws.
Q5: Are wise door handles worth the financial investment?
A: Smart door handles deal added convenience and security functions. They are ideal for homes where several users require access without physical keys.
Comprehending door handle repair and installation not only conserves time and cash but also improves security and performance in your home or office. Whether choosing a local repair for door handle or a complete replacement, following the actions outlined above can make the procedure smooth and effective. As with any home improvement task, taking the time to evaluate your requirements and collect the necessary tools is important for accomplishing the best results.
- 이전글Five Killer Quora Answers To Hire Hacker For Database 26.04.04
- 다음글You'll Never Guess This TEF Certification Buy Online's Benefits 26.04.04
댓글목록
등록된 댓글이 없습니다.